time for toast

My grandmother used to eat half a banana every day with breakfast. It fascinated me as a child, and rather than make bananas seem common place, it elevated them to something mysterious. Why only half? She would keep the other half to eat the next day. What possesses a person to eat half a banana? I now try to eat one banana a day, my own preference for the fruit borne out of the convenience of having a self packaged snack to keep at my desk at work. My grandmother wouldn't have been able to get away with her half a banana a day if she had lived not in a quiet unit across the road from a beach but in my glass box of an apartment. Bananas ripen so quickly during the warmer months that I must buy the greenest at the supermarket, and usually only two at a time. Whilst I don't like eating ripe bananas, they are of course best for baking so if I fail in my banana snacking all is not wasted.

Apart from her penchant for bananas, another strong memory I have of my grandmother is her teaching me how to cream butter and sugar while I stood on her brown stool in the kitchen. She said it was done when it didn't feel gritty. We were making shortbread, something I have never liked. But that is an aside to the whole point of this post - baking with bananas.

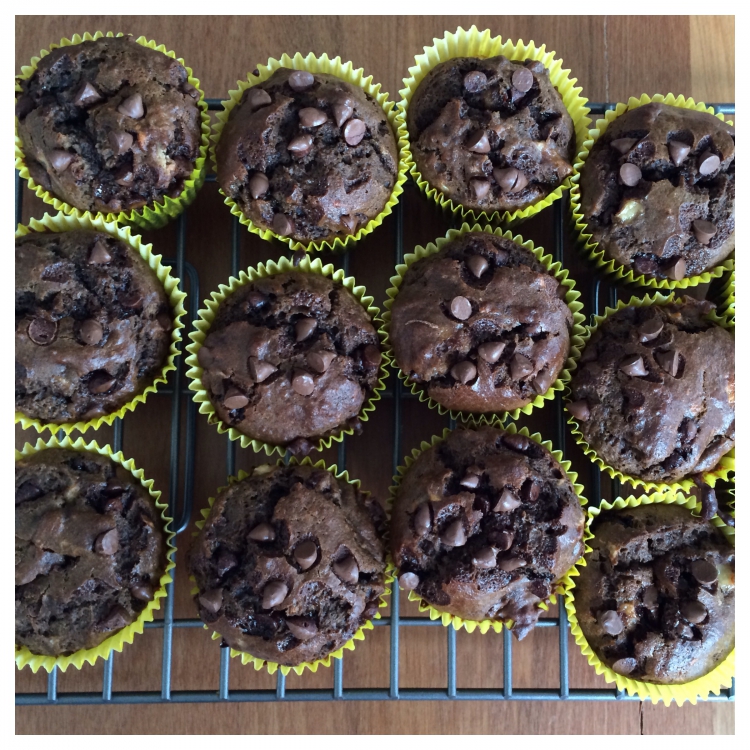
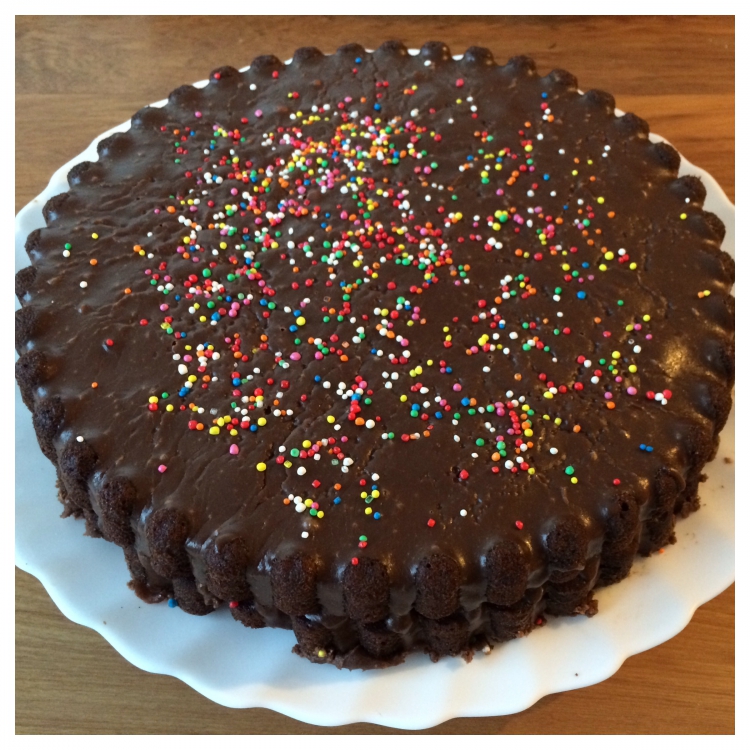
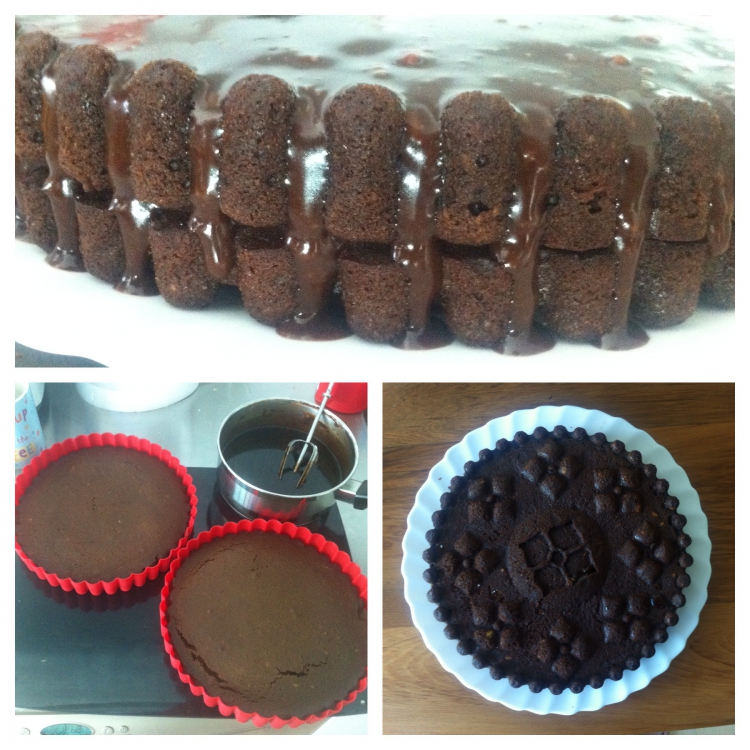
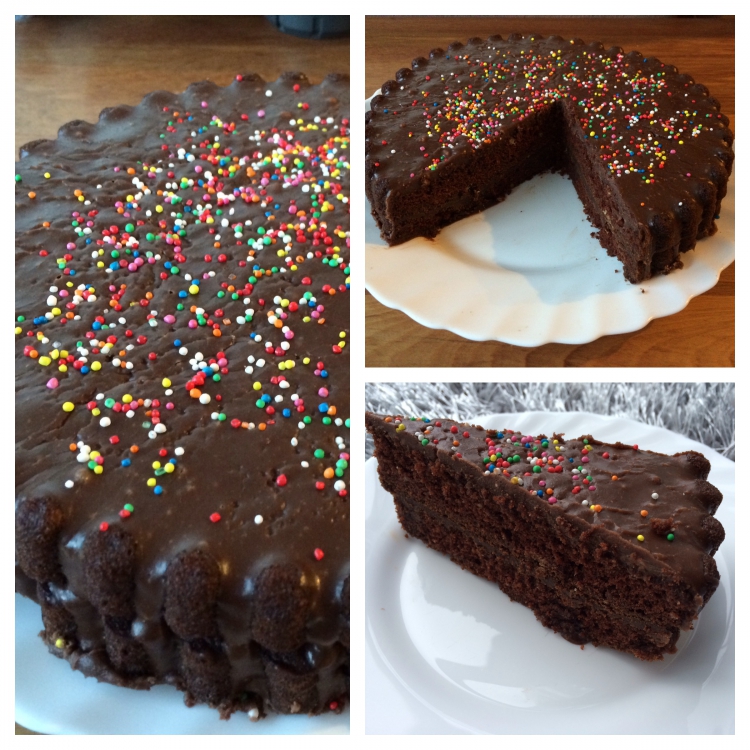
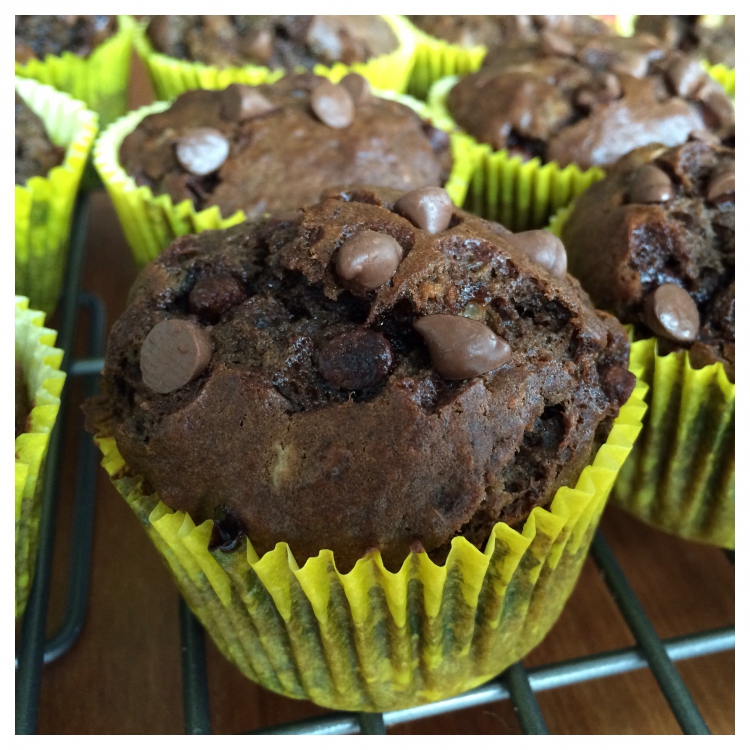
Banana Chocolate Chip Muffins

adapted from Nigella Lawson's recipe for Chocolate Banana Muffins in Kitchen.

You will need:

  • 2 very ripe bananas
  • 1/2 cup canola oil
  • 2 eggs
  • 100g dark cane sugar
  • 225g plain flour
  • 4 tablespoons cocoa powder
  • 1 tsp baking soda
  • 100g chocolate chips + extra for decorating

Directions:

  1. Preheat the oven to 180 degrees celsius.
  2. In a large bowl, mash the bananas with a fork.
  3. Add the oil, eggs and sugar and mix with the fork.
  4. In another bowl, sift the flour, cocoa powder and baking soda together.
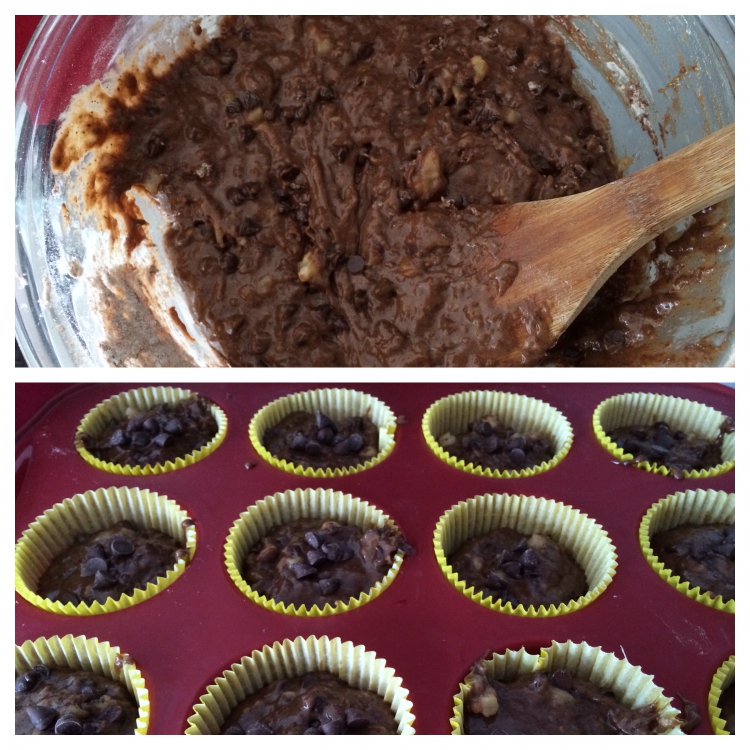
  5. Mix this flour mixture into the bowl with banana mixture. When everything is only just incorporated, add the chocolate chips and mix quickly.
  6. Line a 12 muffin tin with paper cases and spoon mixture into each case. Dot the top of each muffin with extra chocolate chips.
  7. Bake for 15 minutes or until a cake tester comes out clean.

I have made this recipe before, exactly as it is in Kitchen, but here I have added more cocoa powder, the chocolate chips, and removed a banana. There's nothing wrong with a bit more chocolate. The muffins are moist and keep for days if kept in an airtight container.

On Saturday night some friends and I went to the Pakuranga Night Market for dinner. I had fried pork buns and mini donuts on a stick:

The donut flavours from top to bottom were coffee crumb, hazelnut, white chocolate rainbow sprinkle and cookies and cream. I was disappointed that they didn't have green tea flavour. I also had a drink which was made of 100% strawberries and blueberries. It tasted like strawberry syrup, but in a good way. There was a lot more sweet stuff than any other time I have been to the Night Market so I also shared a lemon tart with Shelby.

Speaking of lemon, we had a shared morning tea at work today to welcome some new employees. This was my contribution:

Lemon Yoghurt Cake

recipe by Alison & Simon Holst from here

You will need:

  • 1 and a half cups caster sugar
  • zest of two lemons
  • 2 large eggs
  • 1/2 cup canola oil
  • 1/2 tsp salt
  • 1 cup yoghurt
  • juice of two lemons
  • 1 and a half cups self raising flour
  • tablespoon of soft butter
  • 1 cup icing sugar
  • 1 tsp passionfruit essence (or more)

Directions:

  1. Preheat oven to 180 degrees celsius.
  2. Use the small side of your grater to grate lemon zest into a large bowl.
  3. Put oil, eggs and sugar into bowl with lemon zest and whisk with a fork.
  4. Cut your zested lemons in half and then squeeze their juice into the bowl, picking out any pips with your fingers.
  5. Add salt and yoghurt and mix again.
  6. Add flour and stir until somewhat smooth (you may never get it completely smooth depending on what kind of yoghurt you are using, and this is perfectly fine!)
  7. Pour mixture into two sandwich cake tins and bake for 20 minutes. The tops should be golden brown and a cake tester should come out clean.
  8. Once the cakes have cooled, beat the butter, icing sugar and essence with a hand hold beater.
  9. Spread icing over whatever cake you have designated for the bottom and then carefully press the other cake down on top.

This cake is very moist. I have made it so many times with different icing flavours in the middle - I have tried vanilla icing, chocolate icing and lemon icing. Today's passionfruit icing may be the best yet. I have also tried it with a variety of yoghurt flavours as I just use whatever I have in the fridge at the time. Today I used apricot yoghurt, and I think the tang of the slightly sour apricot suits the lemon flavour quite well. I have also tried strawberry, which is nice too and depending on the yoghurt brand can give the cake a pink tinge and lemon for an even stronger lemon hit.

I'm not a fan of cream, so in the past this would have lead me to foolishly pass over recipes requiring cream, when really it's the flavour of straight cream that I don't like. My aversion to cream as an ingredient has fallen away thanks to Nigella's Tarragon Chicken from Kitchen.

Tarragon Chicken with Garlic Roasted Broccoli

adapted from Nigella Lawson's recipe in Kitchen

For the tarragon chicken you will need:

  • olive for frying
  • 2 spring onions thinly sliced
  • 1/2 tsp dried tarragon
  • 2 chicken breasts
  • 1/2 cup white wine
  • 1/2 tsp salt
  • slightly less than 1/2 cup cream
  • 1 tsp dried tarragon

Directions:

  1. Heat oil in a casserole dish with a lid and then fry spring onions and 1/2 tsp dried tarragon for a minute or so.
  2. While that fries, remove any visible fat from the chicken breasts and use the flat side of the knife to bash the breasts to thin them out.
  3. Put the chicken into the pan and cook for 5 minutes without turning. You want them to develop a bit of a golden tinge.
  4. Turn over the breasts and add the white wine. Let it bubble up and then add the salt.
  5. Put the lid on and leave to simmer for 10 minutes or until the chicken is cooked through.
  6. Remove the chicken breasts and set aside.
  7. Bring the liquid to the boil, add the cream and more dried tarragon, and stir until thickened.
  8. At this point I add the chicken back to the casserole and coat it in the sauce, but you could just pour it over the top as Nigella does.

For the Garlic Roasted Broccoli you will need:

  • 1 head of broccoli, washed
  • 3 tsp crushed garlic
  • 1 tablespoon dark brown sugar
  • 1 tablespoon olive oil

Directions:

  1. Chop the broccoli into bite sized pieces, discarding the stalk.
  2. In a casserole dish, combine the broccoli, garlic, sugar and oil. I do this with my hands, making sure the broccoli is thoroughly coated.
  3. Roast in a 180 degree oven for 15 minutes, or until broccoli is slightly blackened on the ends and is slightly crispy.

The sugar combined with the garlic gives the broccoli a savoury caramelised flavour, which complements the creamy chicken nicely.

I'm still on holiday from work (starting back next Monday) but my boyfriend is already back. I wanted to take some time this week to stock the freezer with some meals for when we are both back to the the daily routine of adulthood. To that end I intended to make a pie today and portion it before freezing to make 3 nights of meals. I made the pie filling (recipe to come later) but that is as far as I got because due to my other exertions today, I ran out of butter so couldn't make the dough. It was also so hot today, and so hot in the kitchen, that I couldn't face more time in front of the oven. That will be a task for tomorrow.

The reason I ran out of butter? Nigella Lawson's Devil's Food Cake from Kitchen. I think Kitchen is my favourite book of hers. It was sort of gifted to me by a friend at the end of second year law as a thank you (and I say sort of, because she actually gave me How to be a Domestic Goddess, which I already had but she suspected I might and gave me an exchange card with which I gratefully got Kitchen) and is probably the cookbook I use the most.

Devil's Food Cake

adapted from Nigella Lawson's recipe in Kitchen

For the cake you will need:

  • 50g cocoa powder
  • 100g dark cane sugar (Nigella says dark muscovado sugar - this was the closest I could get)
  • 1 cup boiling water
  • 125g soft butter
  • 225g high grade flour
  • 1/2 tsp baking soda
  • 1/2 tsp baking powder
  • 2 tsp vanilla essence
  • 2 size 8 eggs

For the icing you will need:

  • 1/2 cup water
  • 30g dark cane sugar
  • 125g butter
  • 300g dark chocolate buttons
  • 100g icing sugar (optional)

Directions:

  1. Preheat the oven to 180 degrees celsius.
  2. Mix the cocoa powder and 100g dark cane sugar in a bowl. Pour in boiling water, mix and set aside.
  3. Cream the butter and sugar together in a large bowl (everything will eventually end up in this bowl).
  4. In another bowl, sift together the flour, baking soda and baking powder.
  5. Add the vanilla essence to the creamed butter and sugar and mix lightly.
  6. Crack one egg into the bowl with the butter and mix, before adding some flour and mixing then cracking the second egg into the bowl.
  7. Mix in the remaining flour.
  8. Fold the cocoa/sugar/water mixture into the butter and flour.
  9. Distribute the mixture evenly between two sandwich cake tins. The type I have can't be lined with baking paper so I greased them with cooking oil first, but if you are using ordinary tins then do line with baking paper.
  10. Nigella's recipe says to bake for 30 minutes or until a cake tester comes out clear. I checked at 20 minutes and the cakes were already getting toward well done so any longer would have been a disaster for me.
  11. While the cakes are baking, put the water, cane sugar and butter in a small pot on low heat, stirring occasionally.
  12. When butter is melted, take the pot off the heat, add the chocolate buttons and stir until all the chocolate is melted and the icing is smooth.
  13. When the cakes have cooled enough for icing, mix the icing sugar into the cooled icing. Spread icing over the top of one cake (not quite to the edge as the compression from the top cake will spread the icing out), place the other cake on top and spread icing over the top of that cake too.

I added in the icing sugar because, although Nigella said the icing was meant to be runny and never quite set, it was really too thin for my liking and I couldn't see how I could use it to ice the cakes (particularly as a filling) without it all flowing away. I also wanted it to set because my boyfriend wouldn't be able to take any to work with him if the icing was sticking to everything. This might be because I used less butter than she suggested due to running out. However, I really liked the result after adding the icing sugar. The icing was still runny so that it flowed down the sides of the cake giving me a nice effect, but once I refrigerated it, it set and became fudgey.

The cake itself was rich but not overpoweringly so. It didn't rise as much as I expected it to, making it quite dense.

← previous posts